Tips for Product Photography in Marketing Your Business
First impressions are more important in sales than almost anywhere else, so it helps to know some tips for product photography in marketing your business. While they won’t always guarantee a sudden wave of impulse buys, good product photos can make a world of difference in sales down the line. They determine how people see your product and its quality within the first few seconds of looking at it.
This doesn’t mean you have to allot thousands of dollars in special equipment to bring customers through your doors. Here are some product photography tips to help you market your wares.
Tips for Photographic Composition
Composition is the arrangement of the objects and subjects in your photograph. Good composition for product photography goes by a few different guidelines. These include:
- The Rule of Thirds: When you’re taking photos, use a set of two horizontal and vertical over the frame. These lines will divide your picture into nine sections and serve as a guide. For the best results under the rule of thirds, arrange your product along these lines, including where they cross.
- Balance: The rule of thirds often places your product off-center, making your photo feel lopsided. To offset this effect, put a prop or another object into the empty space to even out the “weight” of the photo.
- Leading Lines: Give your viewer’s eyes something to follow in the photo. Downward slopes, long rows of products or vertical displays lead your customer through the photo.
- Cropping: Keeping the frame focused tightly on the product you’re photographing will keep unnecessary clutter out of the picture and result in a sharper, cleaner image.
- Clarity: Make sure your product is in focus, otherwise it’ll be harder for your customers to know what you want them to see. Use aperture priority on your camera to adjust the depth of field, making your product the focal point.
These product photography guidelines are just that—guidelines. Not every photo you create has to follow every tip, but they will create dynamic, eye-catching photos for your business.
Lighting is Important
The lighting in your photo affects image quality and the way your customers will respond to it. There are two main colors of natural lighting that reflect the warmth or coolness of the light: blue and yellow.
Blue light can look cold, sad and surgical in photographs, but it also looks mysterious. Many fluorescent lights look blue in photographs, so avoid taking photos in your office. If you have no other option, use additional lighting—including windows with outside light. Blue lighting is good for some lifestyle photographs, such as for cold-weather or nautical-themed products.
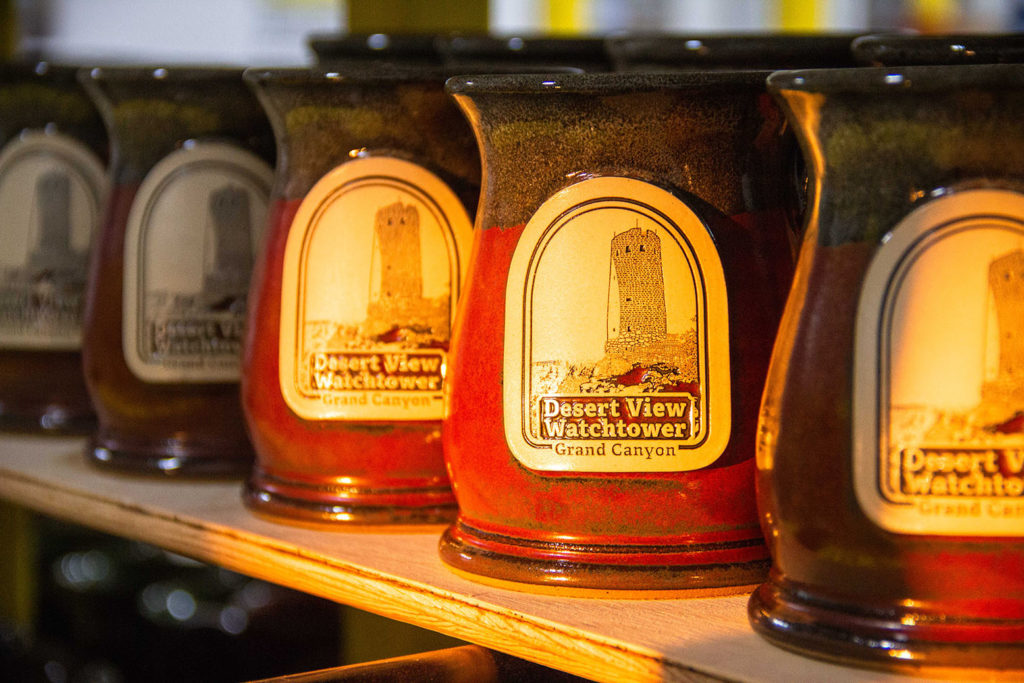
On the other hand, yellow light looks warm and inviting. Old-fashioned Tungsten lighting has a warmer glow than fluorescent lighting. If you’re trying to get an appealing lifestyle shot of your stoneware or other products, your best bet is to use warm lighting or wait for what photographers call the Golden Hour—the time around dawn or dusk when natural light takes on a golden, almost pastel tone.
Blue and yellow lighting can be mixed to create different effects. If the images are going to be used in your webstore, a neutral mix between the two types of lighting best shows what your product looks like in person.
Tools for Product Photography
While product photography can be done on a high-res smartphone or point-and-shoot camera in a pinch, it’s best to have a few pieces of dedicated equipment on hand if your budget allows.
Camera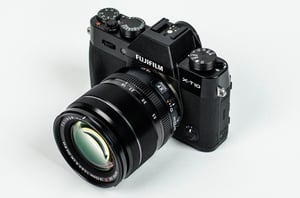
You don’t have to break the bank on a high-end camera to take great product photography, but a decent digital single-lens reflex (DSLR) camera will help. More than any other device, a DSLR camera is one of the most valuable options for both lifestyle and web store images.
Lightbox
Having a lightbox for product photo shoots is a must if you run an online store. Lightboxes allow you to take your photos in even lighting, so your customers can see exactly how beautiful your product is before purchase if they order it online.
For example, Sunset Hill Stoneware has a lightbox where we take product photos for our online store. While our setup includes a white sheet as a backdrop for our images and some special lighting, your preferences may vary. Walmart, Amazon and other online retailers sell lightboxes, but there are also tutorials for making your own using household items.
Photo Software
Editing software does everything from correcting spots to helping their colors pop out from the rest of the image. Adobe Photoshop is the best-known editing software and the gold standard, but the latest version requires a subscription to use. Earlier versions of Photoshop are available for a one-time fee.
Other types of photo editing software on the market include Aviary, PaintShop Pro and GIMP, the latter of which is free to use.
Editing is Not Bad
Some photographers recoil at the thought of digitally altering photos, but photo editing can take your money shot from good to excellent. It can also bring out the subtle undertones in your Made in the USA stoneware’s glaze. It’s a must for lifestyle photos and makes our composition guidelines easier to follow.


Entire books, classes and webinars teach ways to use Photoshop and programs like it, so we’ll start with the basics. Here are four simple tools you can use when editing photos:
- Brightness. Making your photo even slightly brighter or darker can affect its mood and how your customers perceive it. People usually like brighter photos, but too much brightness makes photos look washed out.
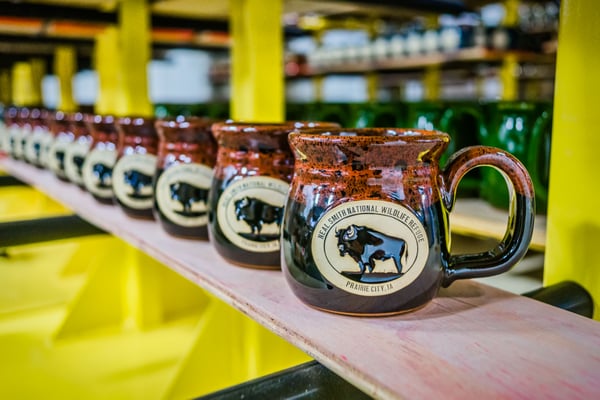
- Color Balance. Changing the color balance in your product photos brings out its subtle hues. For example, we’ve adjusted our color balance before to bring out the blue shades in our Root Beer glaze, and it can be used to draw out the red in people’s cheeks, among other things.
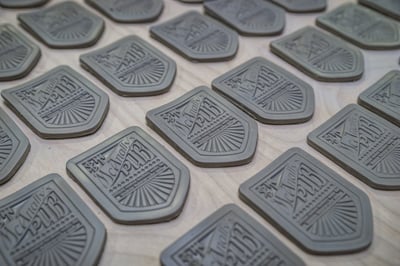
- Saturation. Adjusting the saturation in your product photography can enhance all of your product’s colors, especially if you’re selling brightly-colored products. Lowering the saturation has the opposite effect—an ideal tip for brands using muted tones or pastels.
- Spot healing. Newer software usually has this handy tool, which removes everything from unwanted mustard stains to fabric wrinkles.
Don’t be afraid to experiment with some of these tools to see what best fits your brand. If your customers respond to one way of editing your photos better than others, that process is yours to recreate. After all, a large part of marketing is trial and error—what works for your brand might not work for anybody else.
At the end of the day, these product photography guidelines are yours to follow or break in your marketing strategy. Beauty is in the eye of the beholder, so work with the tools you have to make your product photos look their best.

[…] have plenty of tips for good product photography in marketing, including the rules of composition and lighting. Some pointers include keeping your product […]
[…] the Sunset Hill Stoneware team to get your photos picture perfect. This and our other series of product photography tips will help you improve your skills with […]